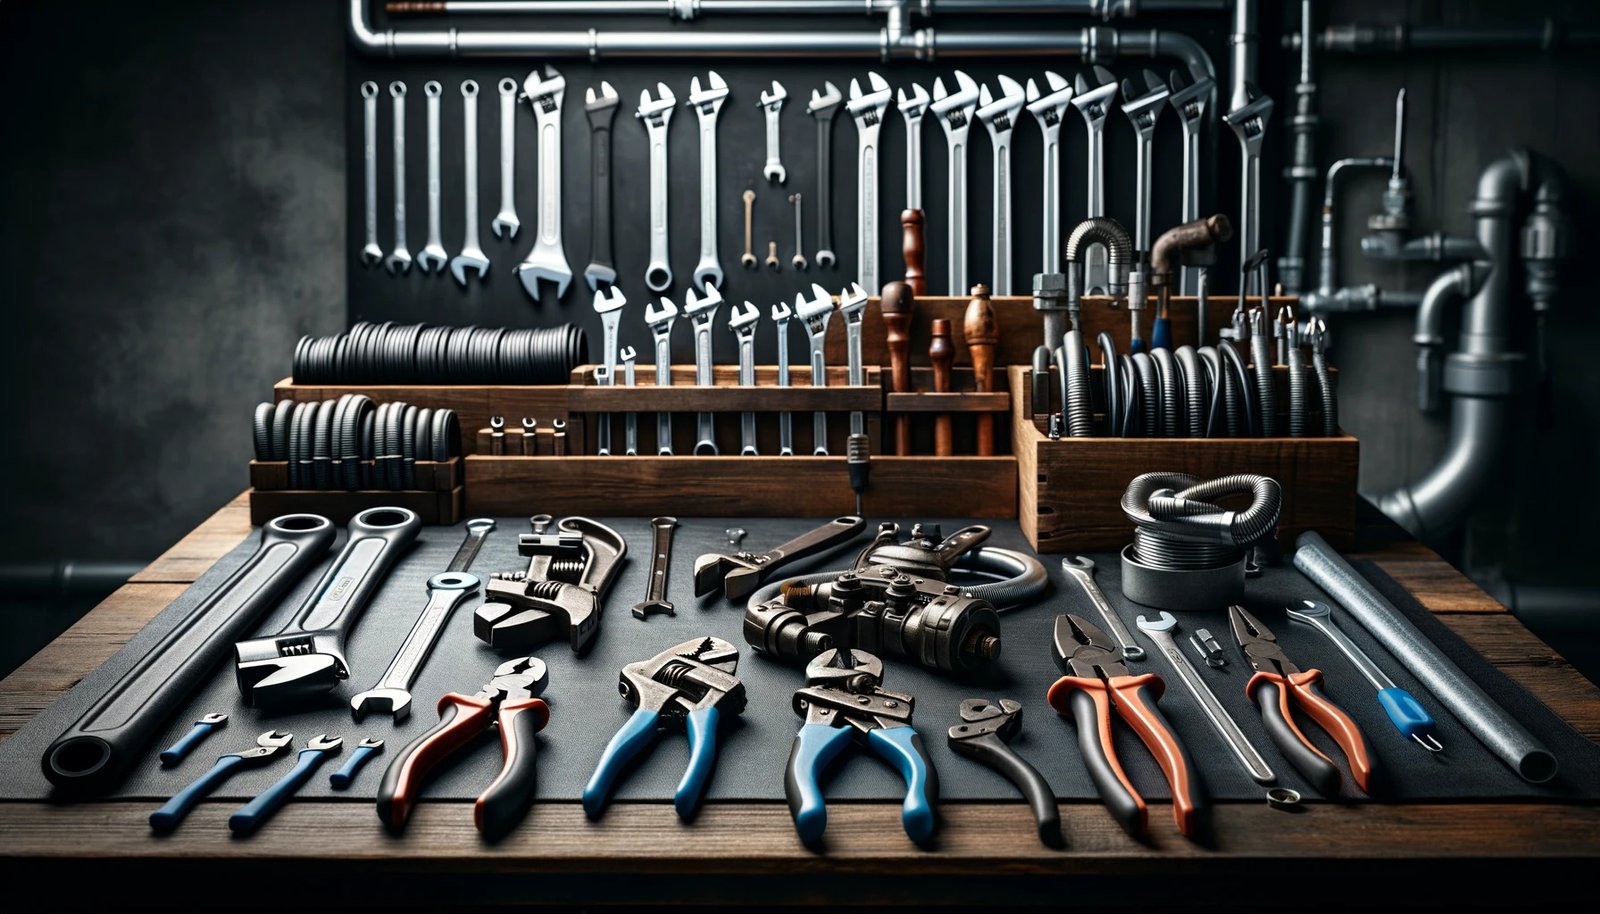
Every homeowner knows that plumbing issues are not a matter of if, but when. From a leaky faucet that disrupts the night’s silence to a clogged drain turning the kitchen sink into a mini-pool, plumbing challenges can arise unexpectedly, often at the most inconvenient times. The key to navigating these watery woes with confidence lies in preparation—specifically, having a DIY plumber’s toolkit at the ready.
This toolkit, a collection of essential tools and supplies, is your first line of defense against common plumbing problems. Equipped with the right tools, you can tackle many issues head-on, saving yourself the time, expense, and hassle of calling in a professional for minor fixes. Beyond the immediate convenience and cost savings, being prepared with a well-stocked toolkit ensures you can respond swiftly to emergencies, mitigating potential damage to your home.
In the following guide, we’ll dive into the must-have tools for every DIY plumber’s toolkit. From basic implements to more specialized gadgets, we’ll cover everything you need to manage your home’s plumbing like a pro. Whether you’re a seasoned DIY enthusiast or a newcomer to home maintenance, assembling your plumbing toolkit is a smart, empowering step toward greater home efficiency and preparedness.
Understanding Plumbing Basics

A basic understanding of your home’s plumbing system is essential for any DIY plumber. At its core, this system can be divided into two main parts: the water supply system, which brings fresh water into your home, and the drainage system, which removes wastewater. Between these two functions, plumbing ensures that your household has access to clean water while safely disposing of waste.
Homeowners frequently encounter a range of plumbing problems that can disrupt this balance. Common issues include leaky faucets, which waste water and inflate bills; clogged drains, which can lead to slow water drainage or complete blockage; running toilets, a major source of water wastage; and low water pressure, which affects the efficiency of showers and faucets. By familiarizing yourself with these basic components and common problems, you equip yourself with the foundational knowledge needed to tackle plumbing tasks confidently and effectively.
I. Must-Have Tools for the DIY Plumber
Every DIY plumber needs a toolkit equipped with specific tools designed to tackle a variety of plumbing tasks. These tools are not just aids; they’re your partners in maintaining and repairing your home’s plumbing system. Here’s a rundown of the must-have tools for any DIY plumbing project:
- Plungers: Often the first line of defense against clogs, plungers come in two main types. The sink plunger, with its flat bottom, is ideal for flat surfaces like sink and bathtub drains. The toilet plunger, recognizable by its flanged bottom, is designed to fit snugly in toilet bowls for effective unclogging.
- Pipe Wrench: This large, heavy-duty wrench is indispensable for gripping and turning pipes, especially those made of metal. Its serrated jaws provide a firm grip, making it perfect for tasks that require considerable torque.
- Adjustable Wrench: For nuts and bolts of various sizes, the adjustable wrench is a must-have. Its versatility makes it ideal for tightening or loosening connections on faucets, showers, and other plumbing fixtures.
- Teflon Tape: Also known as plumber’s tape, Teflon tape is wrapped around pipe threads to create a watertight seal, effectively preventing leaks at joint connections.
- Plumber’s Putty: A soft, malleable sealing compound, plumber’s putty is used to create waterproof seals around faucets, drains, and other fixtures where a tight, leak-proof seal is necessary.
- Hand Auger and Snake: When a plunger isn’t enough, a hand auger or plumber’s snake comes into play. This tool is designed to reach deep into drains to clear clogs that are beyond the trap, restoring flow without damaging the pipes.
- Hacksaw: For cutting through pipes, screws, nuts, and bolts, a hacksaw is invaluable. Its fine-toothed blade can cut through metal and plastic, allowing for modifications or removal of plumbing hardware.
Equipping yourself with these essential tools means you’re ready to face common plumbing issues head-on, ensuring your home’s plumbing system remains in top condition.
II. Additional Helpful Tools
Beyond the basics, a few additional tools can significantly enhance your DIY plumbing arsenal, offering precision, versatility, and the ability to tackle more specialized tasks.
- Pipe Cutter: When working with copper pipes, a clean and precise cut is essential. A pipe cutter delivers just that, outperforming a hacksaw in both neatness and accuracy. Its easy-to-use mechanism allows for straight cuts, minimizing the risk of leaks in newly installed lines.
- Tubing Bender: Copper pipes can kink when you try to bend them manually, leading to potential damage and compromised flow. A tubing bender allows you to create smooth bends at precise angles, ensuring the integrity of your pipe’s structure and flow capacity. This tool is invaluable for complex installations or when navigating pipes through tight spaces.
- Water Pump Pliers: Also known as tongue-and-groove pliers, these adjustable pliers are perfect for gripping pipes of various sizes. Their design offers a secure grip, allowing you to turn, hold, or tighten plumbing components with confidence. The adjustability makes them a versatile addition to any toolkit, suitable for a wide range of plumbing tasks.
- Borescope Camera: Sometimes, the source of a plumbing problem lies in areas that are difficult or impossible to see with the naked eye. A borescope camera, with its flexible, extendable neck and camera on the end, allows you to inspect inside pipes, behind walls, or under floors. This tool can help diagnose issues without the need for invasive cutting or drilling, saving time and preserving the structure of your home.
Incorporating these additional tools into your DIY plumbing kit will not only expand the range of projects you can undertake but also increase the efficiency and quality of your work, ensuring that you’re prepared for even the most challenging plumbing tasks.
III. Tackling Common Plumbing Repairs
Tackling common plumbing repairs yourself can be a rewarding challenge, saving you time and money. Here’s how to address three frequent issues with confidence and the right tools.
A. Fixing a Leaky Faucet
Leaky faucets are not only annoying but also wasteful and costly over time. To fix a leaky faucet, you’ll need an adjustable wrench, screwdriver, and possibly replacement washers or O-rings.
- Turn off the water supply to the faucet.
- Remove the faucet handle by loosening the screw that secures it. This may be hidden under a decorative cap.
- Disassemble the faucet to access the washer or O-ring. Take note of the assembly order for reinstallation.
- Replace the damaged washer or O-ring with a new one that matches in size and shape.
- Reassemble the faucet and turn the water supply back on. Check for leaks.
B. Unclogging Drains
A clogged drain can usually be cleared with a plunger or a hand auger.
- Using a plunger: Place the plunger over the drain and pump vigorously several times. The suction can dislodge the clog, clearing the drain.
- Using a hand auger: Insert the auger into the drain and turn the handle to extend the coil. When you hit the clog, continue to turn the handle to break it up or hook it so you can pull it out.
C. Replacing Components in a Running Toilet
A running toilet often indicates a faulty flapper or fill valve, which can usually be fixed without calling a plumber. You’ll need an adjustable wrench and replacement parts specific to your toilet model.
- Turn off the water supply to the toilet and flush to empty the tank.
- Remove the faulty component—either the flapper at the bottom of the tank or the fill valve on the side. This may involve unscrewing nuts or disconnecting chains.
- Install the new component, ensuring it’s securely in place and connected correctly.
- Turn the water supply back on and test the flush to ensure the issue is resolved.
By following these steps and using the appropriate tools, you can efficiently resolve common plumbing issues, keeping your home’s water systems running smoothly.
Tips for Organizing Your Plumbing Toolkit
Keep your plumbing toolkit organized and maintained to extend tool life and ensure readiness for quick repairs. Use a toolbox or pegboard for easy access and routinely clean and sharpen tools to prevent rust and damage. For safety, especially in homes with children, store tools securely. An organized toolkit boosts repair efficiency and safety.
When to Call a Professional
DIY plumbing can save money, but knowing your limits is key. For major leaks, complex installations, or permit-required work, consult a professional plumber to avoid costly mistakes and ensure your home’s plumbing integrity. Tackling beyond-skill-level tasks could lead to significant damage or legal problems. Prioritize safety and professionalism for serious plumbing issues.
Conclusion
A well-stocked DIY plumbing toolkit is invaluable, preparing you for emergencies and routine tasks alike. It transforms challenges into learning opportunities, enhancing your home and skills. Embrace your DIY plumber role and enjoy the satisfaction of self-reliance. Share your stories and tips in the comments to inspire and guide others on their DIY journey.
Ready to dive deeper into the world of DIY home improvement? Don’t miss out—subscribe now for a treasure trove of tips, tricks, and tutorials designed to empower your next project. For an even closer look, follow us on social media. You’ll find engaging video tutorials, live Q&A sessions, and a community of DIY enthusiasts just like you. Whether you’re fixing a leaky faucet or transforming your living space, we’re here to guide you every step of the way. Join us and turn your home improvement dreams into reality.
continue reading
